How to change Email setting in CiviCRM – WordPress ?

If you are looking for way to change CiviCRM Email Setting than follow quick steps guide to do that –

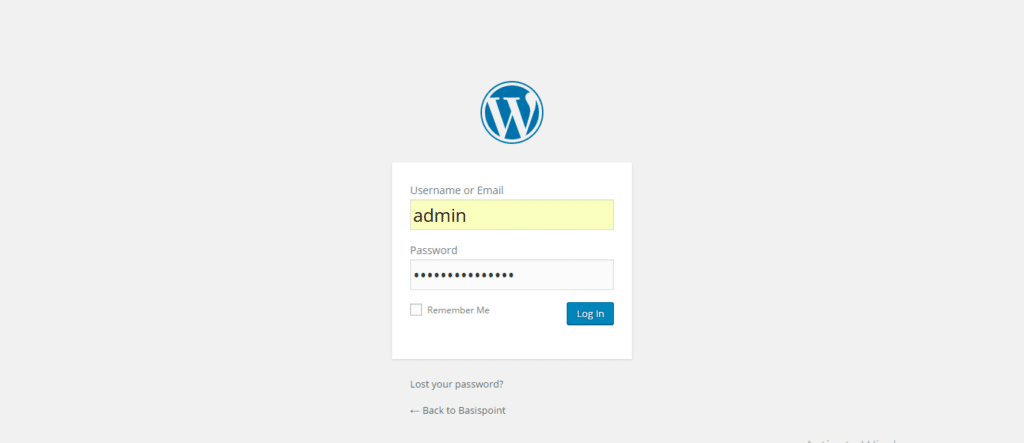
  • Go to your WordPress website’s admin login usually, www.yourwebsite.com/wp-admin
  • Enter your username and password and sign in

login

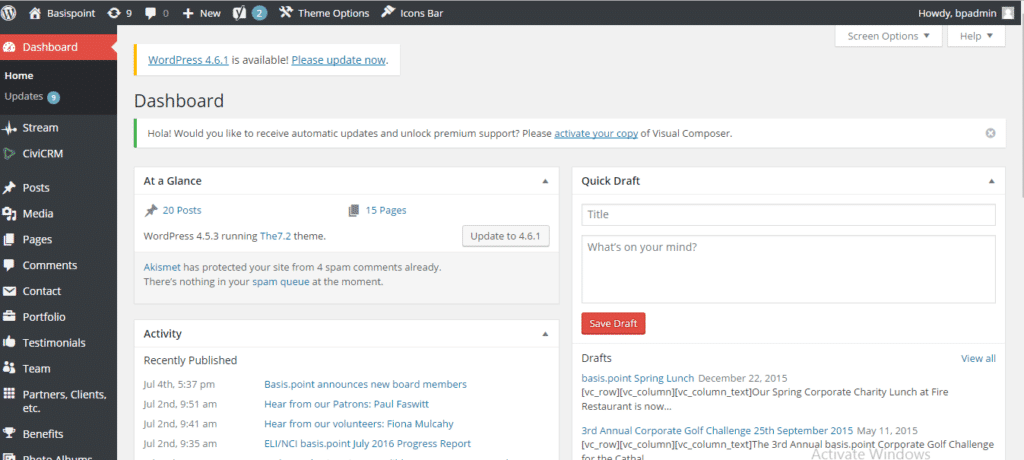
  • Then Click on CiviCRM from left-hand side tool bar. It will open up the Dashboard of CiviCRM

civi-crm

  • On the Top Tool bar you will see “Administer”, click on it

administer-civi

  • It will show “System Settings”, hover on it would show you “OutBound Settings (SMTP/Sendmail)” click on that

system-settings1

  • It will open a page, which will have various email settings such as “    

smtp

  • You can Click on SMTP, which will open the below –
    SMTP Configuration

    Enter the SMTP server (machine) name, such as “smtp.example.com”. If the server uses SSL, add “ssl://” to the beginning of the server name, such as “ssl://smtp.example.com”.

    The most common SMTP port possibilities are 25, 465, and 587. Check with your mail provider for the appropriate one.
     
    Does your SMTP server require authentication (user name + password)?

    If your SMTP server requires authentication, enter your Username and Password here.
  • Fill the same and click on “Save & Send Test Email “, if everything is fine then it will send an email and will bring the smile on your face.


Share on:

You may also like